Editing process graphs
Editing a process graph mainly comprises adding and removing macros as well as adding and removing links between macros. In some situations also loops have to be resolved. Impresario supports all these tasks in several ways.
Adding macros to a process graph
When a macro is added to a process graph a new instance of this macro is created. Either of the following methods can be used to add a new macro instance to a process graph:
-
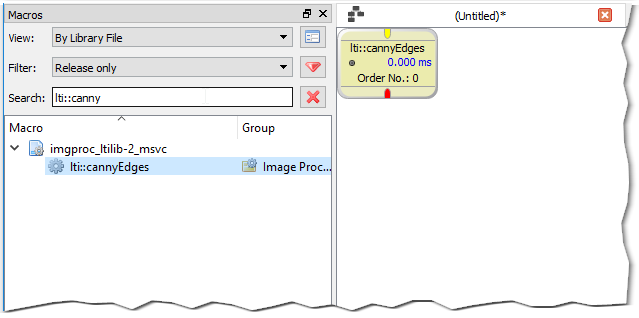
The most straight forward way is to simply left-click the desired
 Macro
object in the Macro database window,
drag the macro to the desired position in the process graph editor and drop it there.
Macro
object in the Macro database window,
drag the macro to the desired position in the process graph editor and drop it there.

Adding a macro instance by left-click drag & drop (Click to enlarge)
-
It is also possible to search for the desired macro by entering text in the search input box. The first
Macro
object
matching the text is highlighted. Pressing the “Enter” key now adds a new instance of the macro to the top left corner of the process graph editor.
Adding a macro instance using the search input box (Click to enlarge)
-
A right-click on the desired
Macro
object in the Macro database window brings up a context menu which allows you to
Create 1 instance,Create 2 instances, orCreate 3 instancesof the selected macro. More than three instances can also be created by choosing the Create multiple instances...
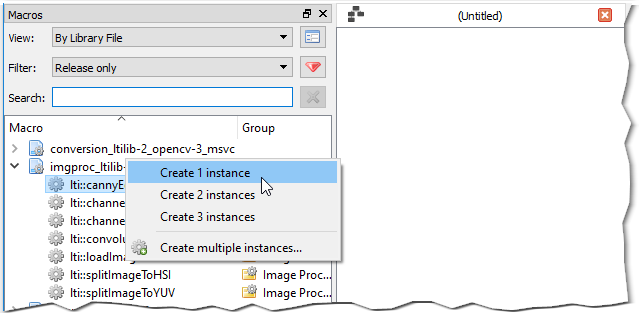
Adding a macro instance using the context menu (Click to enlarge)
-
A combination of the first and third method can be achieved by right-clicking a
Macro
object in the Macro database window,
dragging it to the desired position in the process graph editor and drop it there. This will open up the context menu for creating several instances as above.
All macro instances will be created at the drop position. However, this method only works on Windows operating systems.
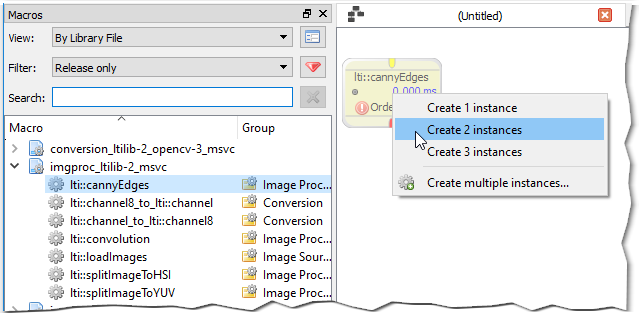
Adding a macro instance by right-click drag & drop (Click to enlarge)
Creating links between macros
The data flow between macros is determined by links which connect an output pin of one macro with another macro’s input pin. The following rules apply to links:
- A macro output pin can only be connected to a macro input pin of the same data type.
- A macro’s output pin can be connected to many macro input pins.
- A macro input pin can only have one connection to another macro’s output pin.
- A macro output pin cannot be connected to a macro input pin of the same macro instance.
Creating a link requires the following steps:
Start link creation (Click to enlarge)
- Left-click the output pin and hold down the left mouse button. Start dragging the mouse cursor. A red line will be drawn from the output pin to the current mouse position. The mouse cursor also turns into a link cursor depicting an invalid link destination.
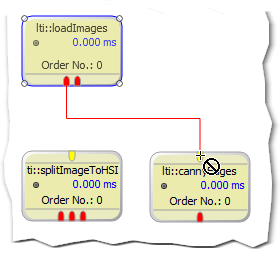
Invalid link destination (Click to enlarge)
- You can hover over various macro input pins. If the data types of the output pin and currently hovered input pin are not identical, the link line stays red and the mouse cursor still depicts an invalid link destination.
Valid link destination (Click to enlarge)
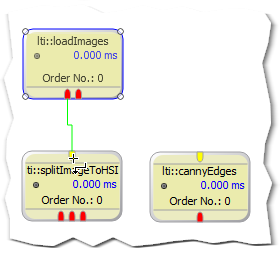
- As soon as you hover over a macro input pin with identical data type the link line turns green and the mouse cursor indicates a valid link destination.
Created link (Click to enlarge)
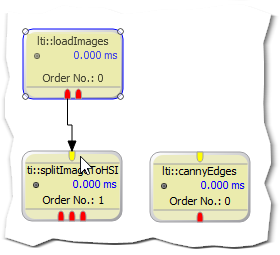
- Release the mouse button. The green line is replaced by a black link with an arrow head pointing to the connected macro input pin.
It is also possible to create links by starting from a macro’s input pin and connect to another macro’s output pin.
Resolving loops
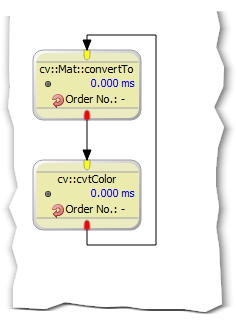
Unresolvable loop (Click to enlarge)
It may happen that you create circular references between macros resulting in a loop Impresario cannot resolve itself from execution order point of view. In this case
you have to guide Impresario.
Impresario marks all macros within an unresolvable loop with a red circular arrow  and does not assign these macros an execution order number.
Context menu for resolving loops (Click to enlarge)
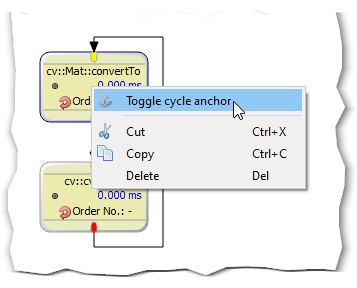
To resolve a loop you have to use the command
 Toggle cycle anchor
By executing this command on a macro, you tell Impresario to use this macro as starting point - or anchor - for calculating the execution order.
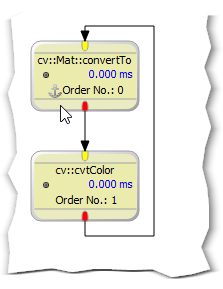
Manually resolved loop (Click to enlarge)
The macro you selected as anchor is subsequently marked with the anchor icon .
Please note: When you further change your process graph it may happen that Impresario can resolve the loop on its own you just resolved manually. In this case
Impresario will do so and the anchor icon will disappear again.
Standard edit operations
Selection (Click to enlarge)
Impresario supports the standard edit operations
 Cut
Cut Copy
CopyDelete
. These
commands work on a single macro, a single link, or a selection consisting of several macros and/or links.
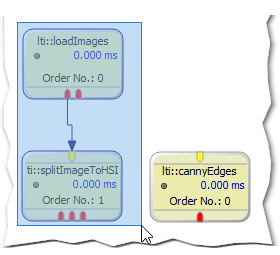
To make a selection, press the left mouse button and pull a rectangle around all components to be selected. Afterwards, the standard edit commands are applied to the current selection.
Copied or cut selections can be inserted in the same or a different process graph editor using the
 Paste
Paste
Resizing (Click to enlarge)
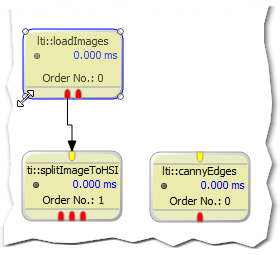
When a single macro is selected, small circles are displayed in each corner. By left clicking a circle and holding down the mouse button the selected macro can be resized.
Undo and Redo
All operations described in the previous sections can be undone or redone at any time until the process graph is saved. Undoing or redoing edit operations is possible by
using the
 Undo
Undo Redo
Redo